Design to code, on your real codebase.
One place where the canvas and the codebase are the same thing. Bring a Figma file, a screenshot, or a prompt, or design directly on the canvas, and ship the result as a pull request.
Explore
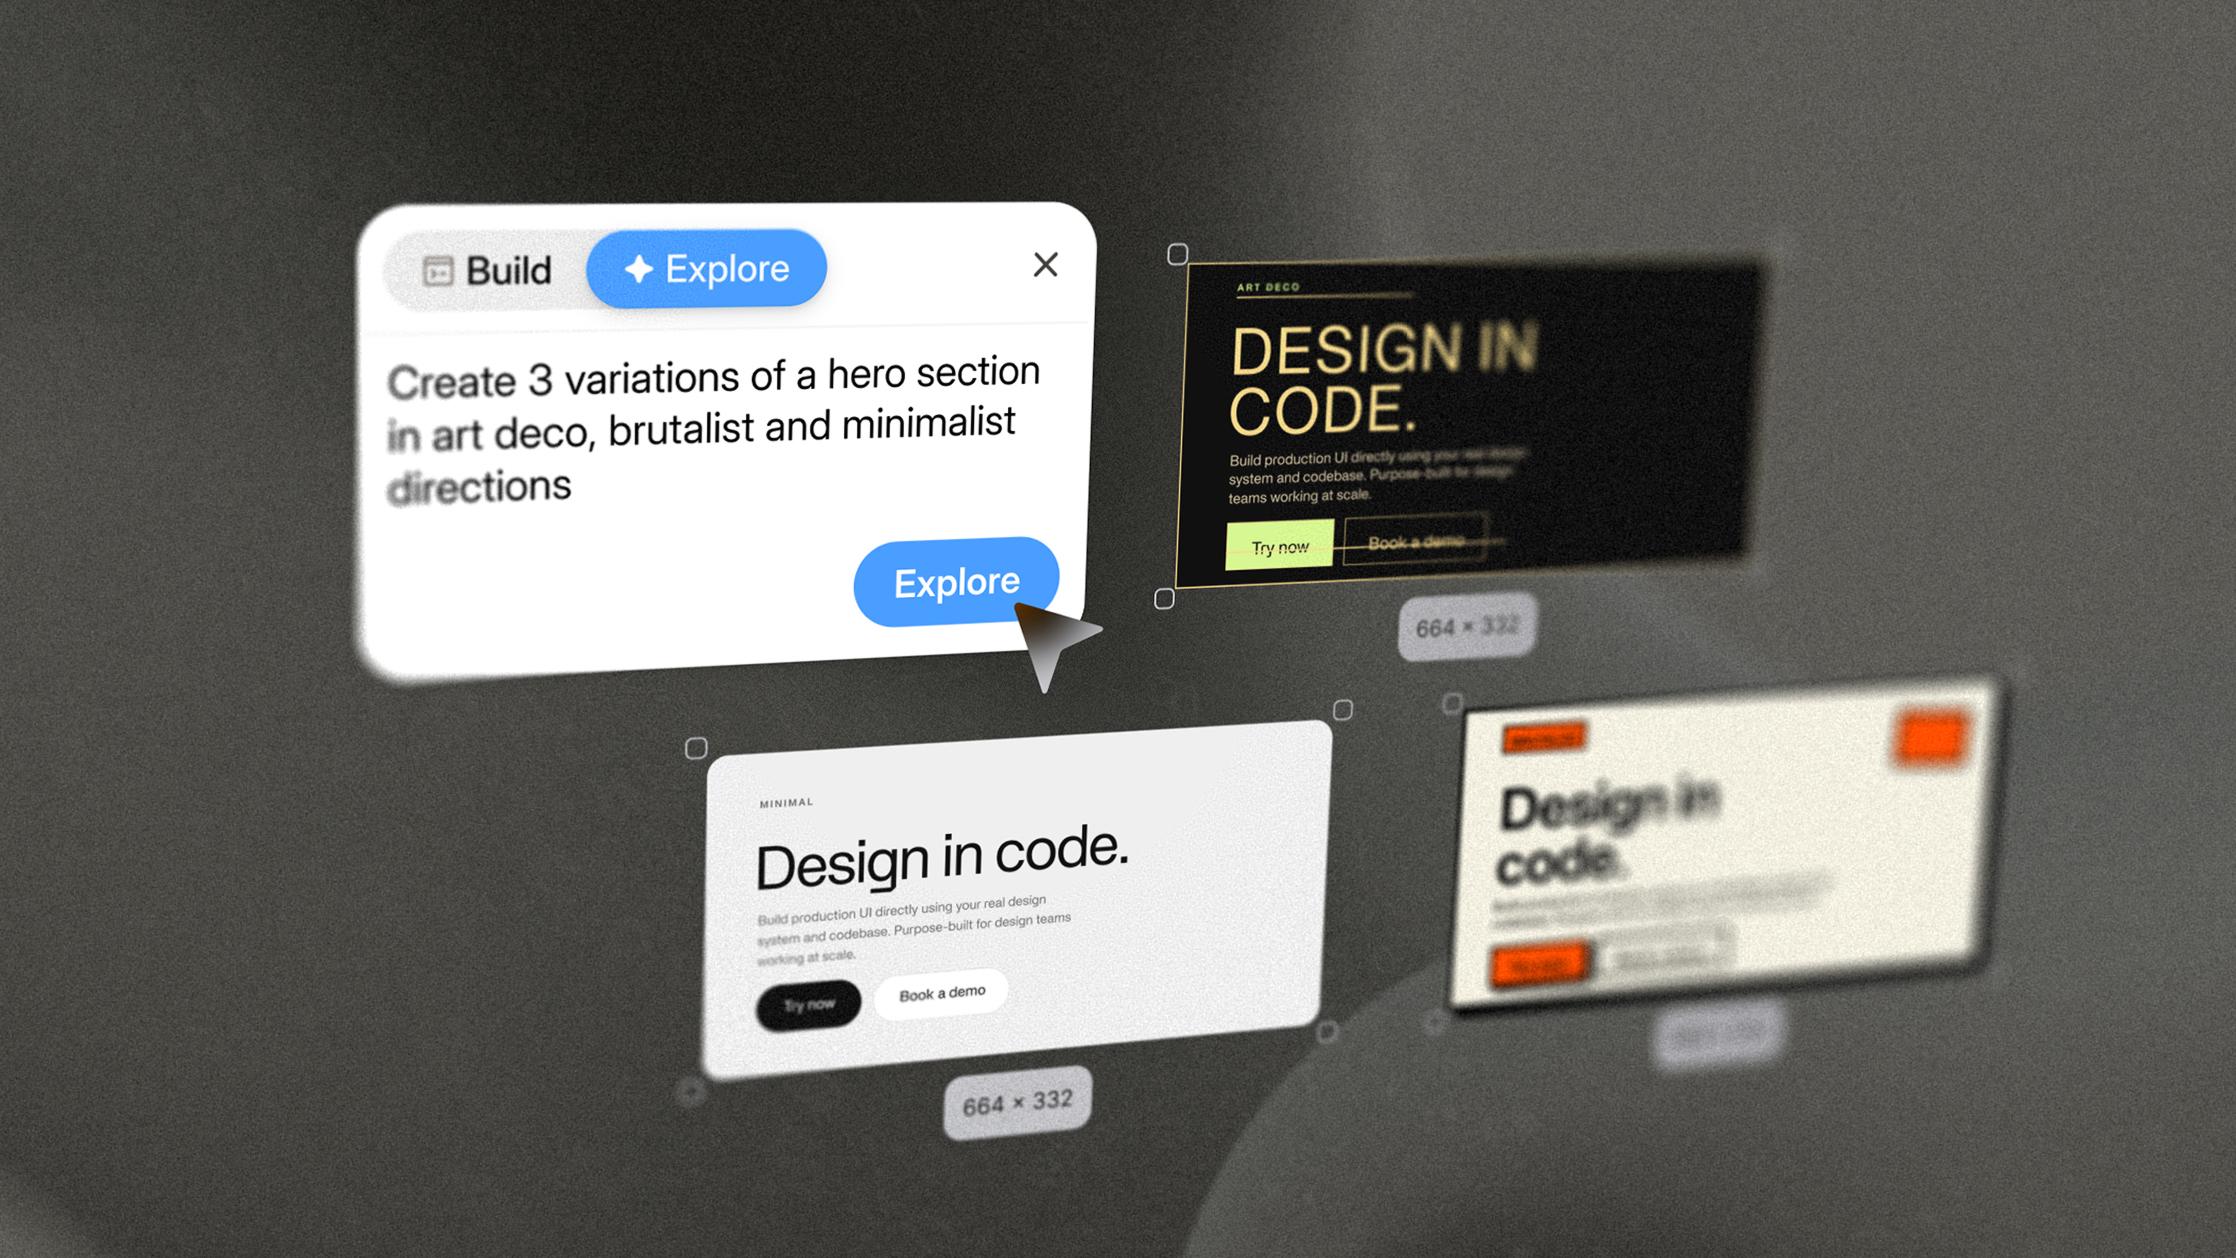
Start from a product screen or a blank frame and explore directions with AI. Every option is rendered with your real components, so nothing has to be rebuilt later.
Design controls
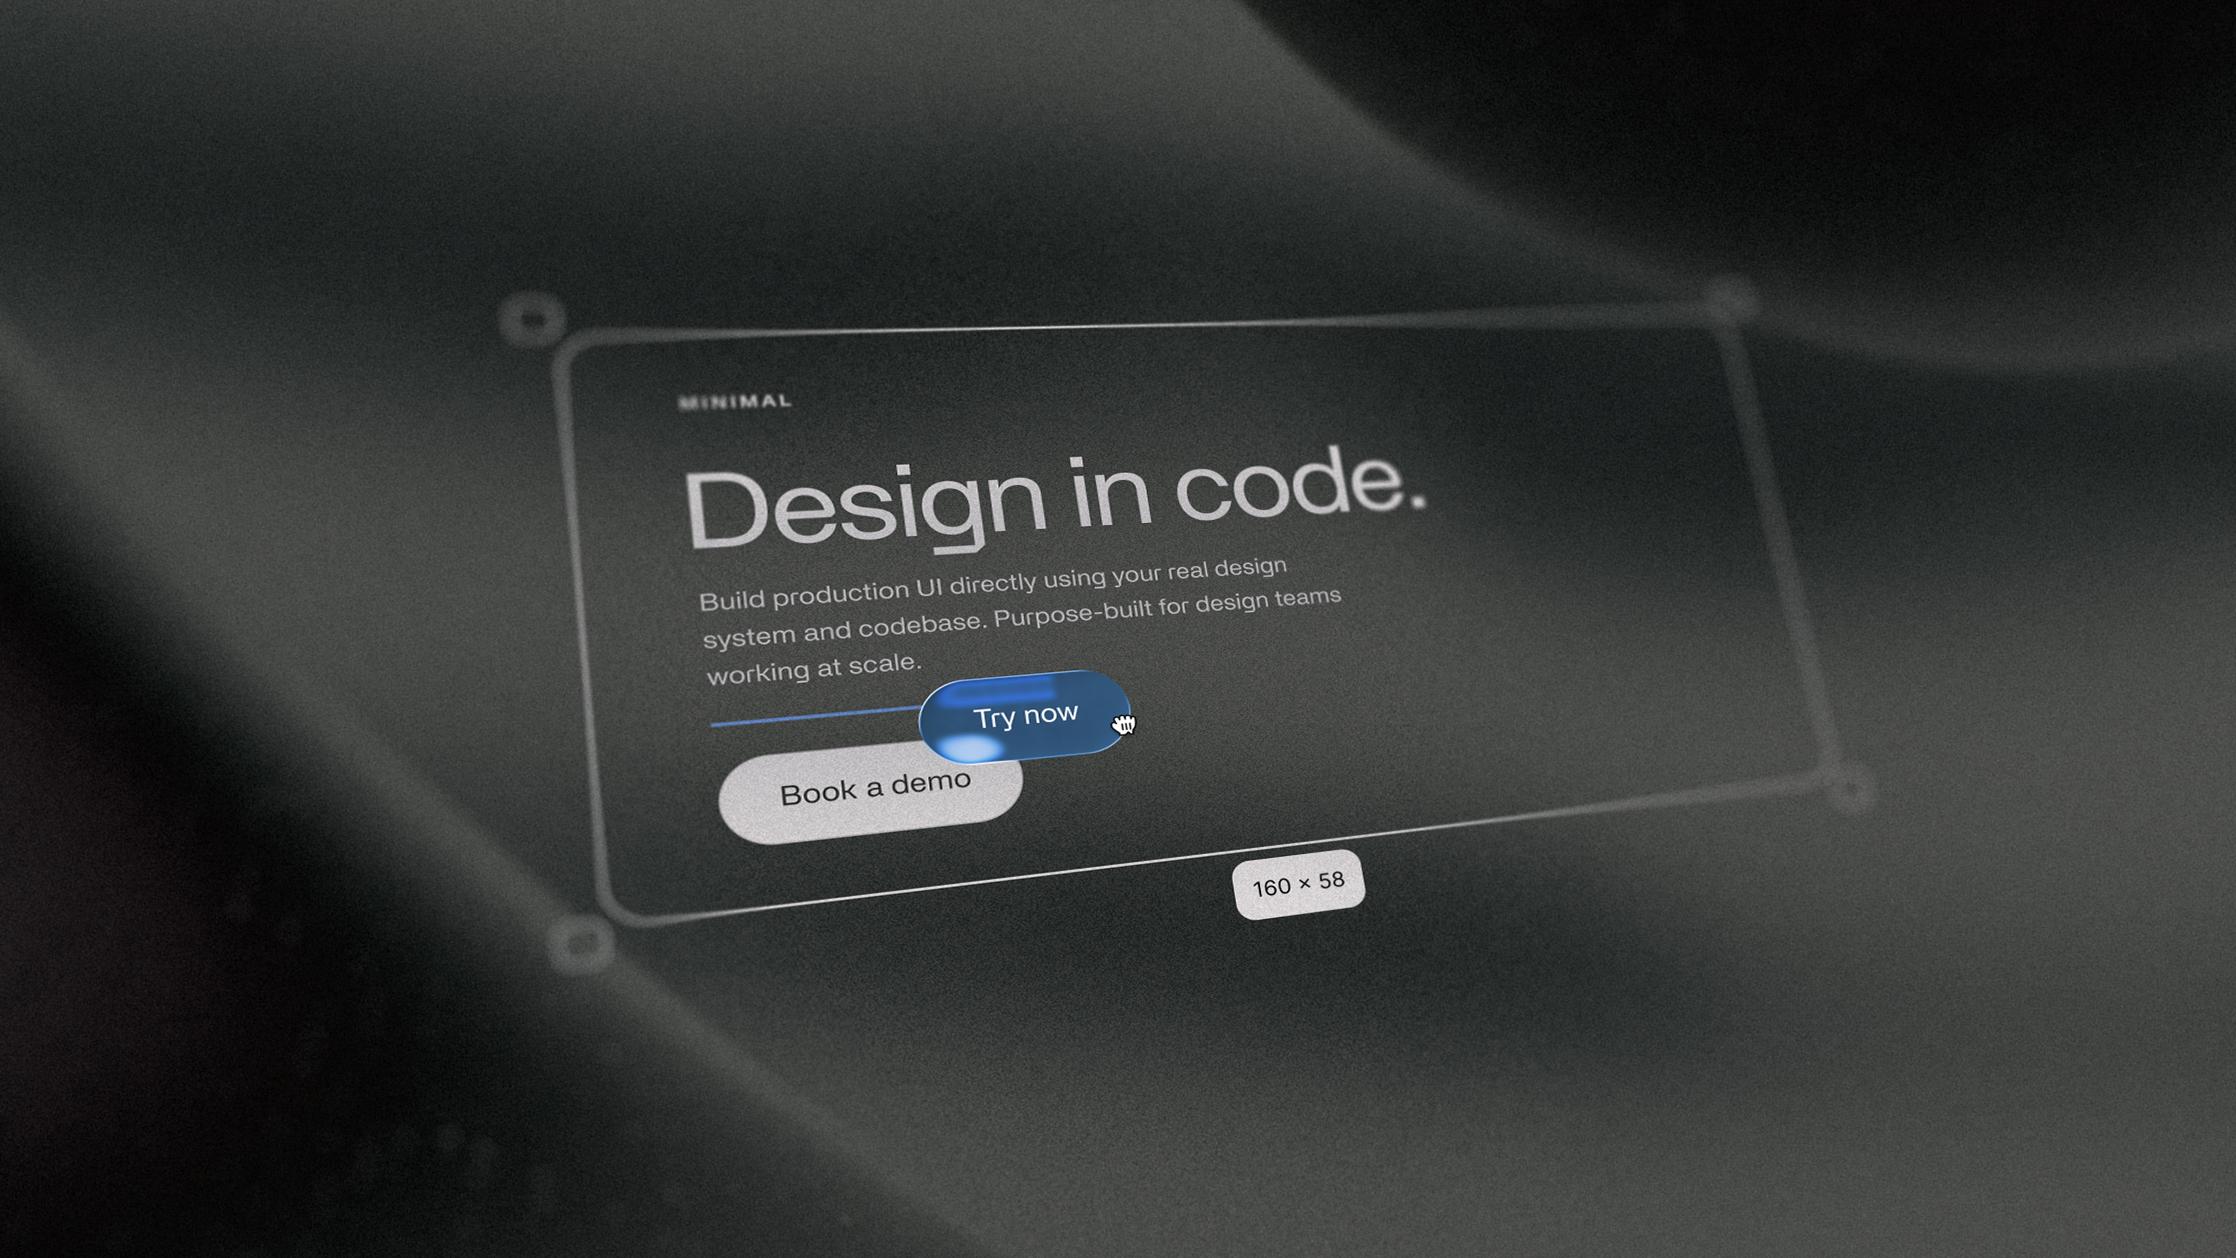
Design on a canvas with the layout and style controls you already know. Resize, align, restyle: every change lands in code as you make it.
Build
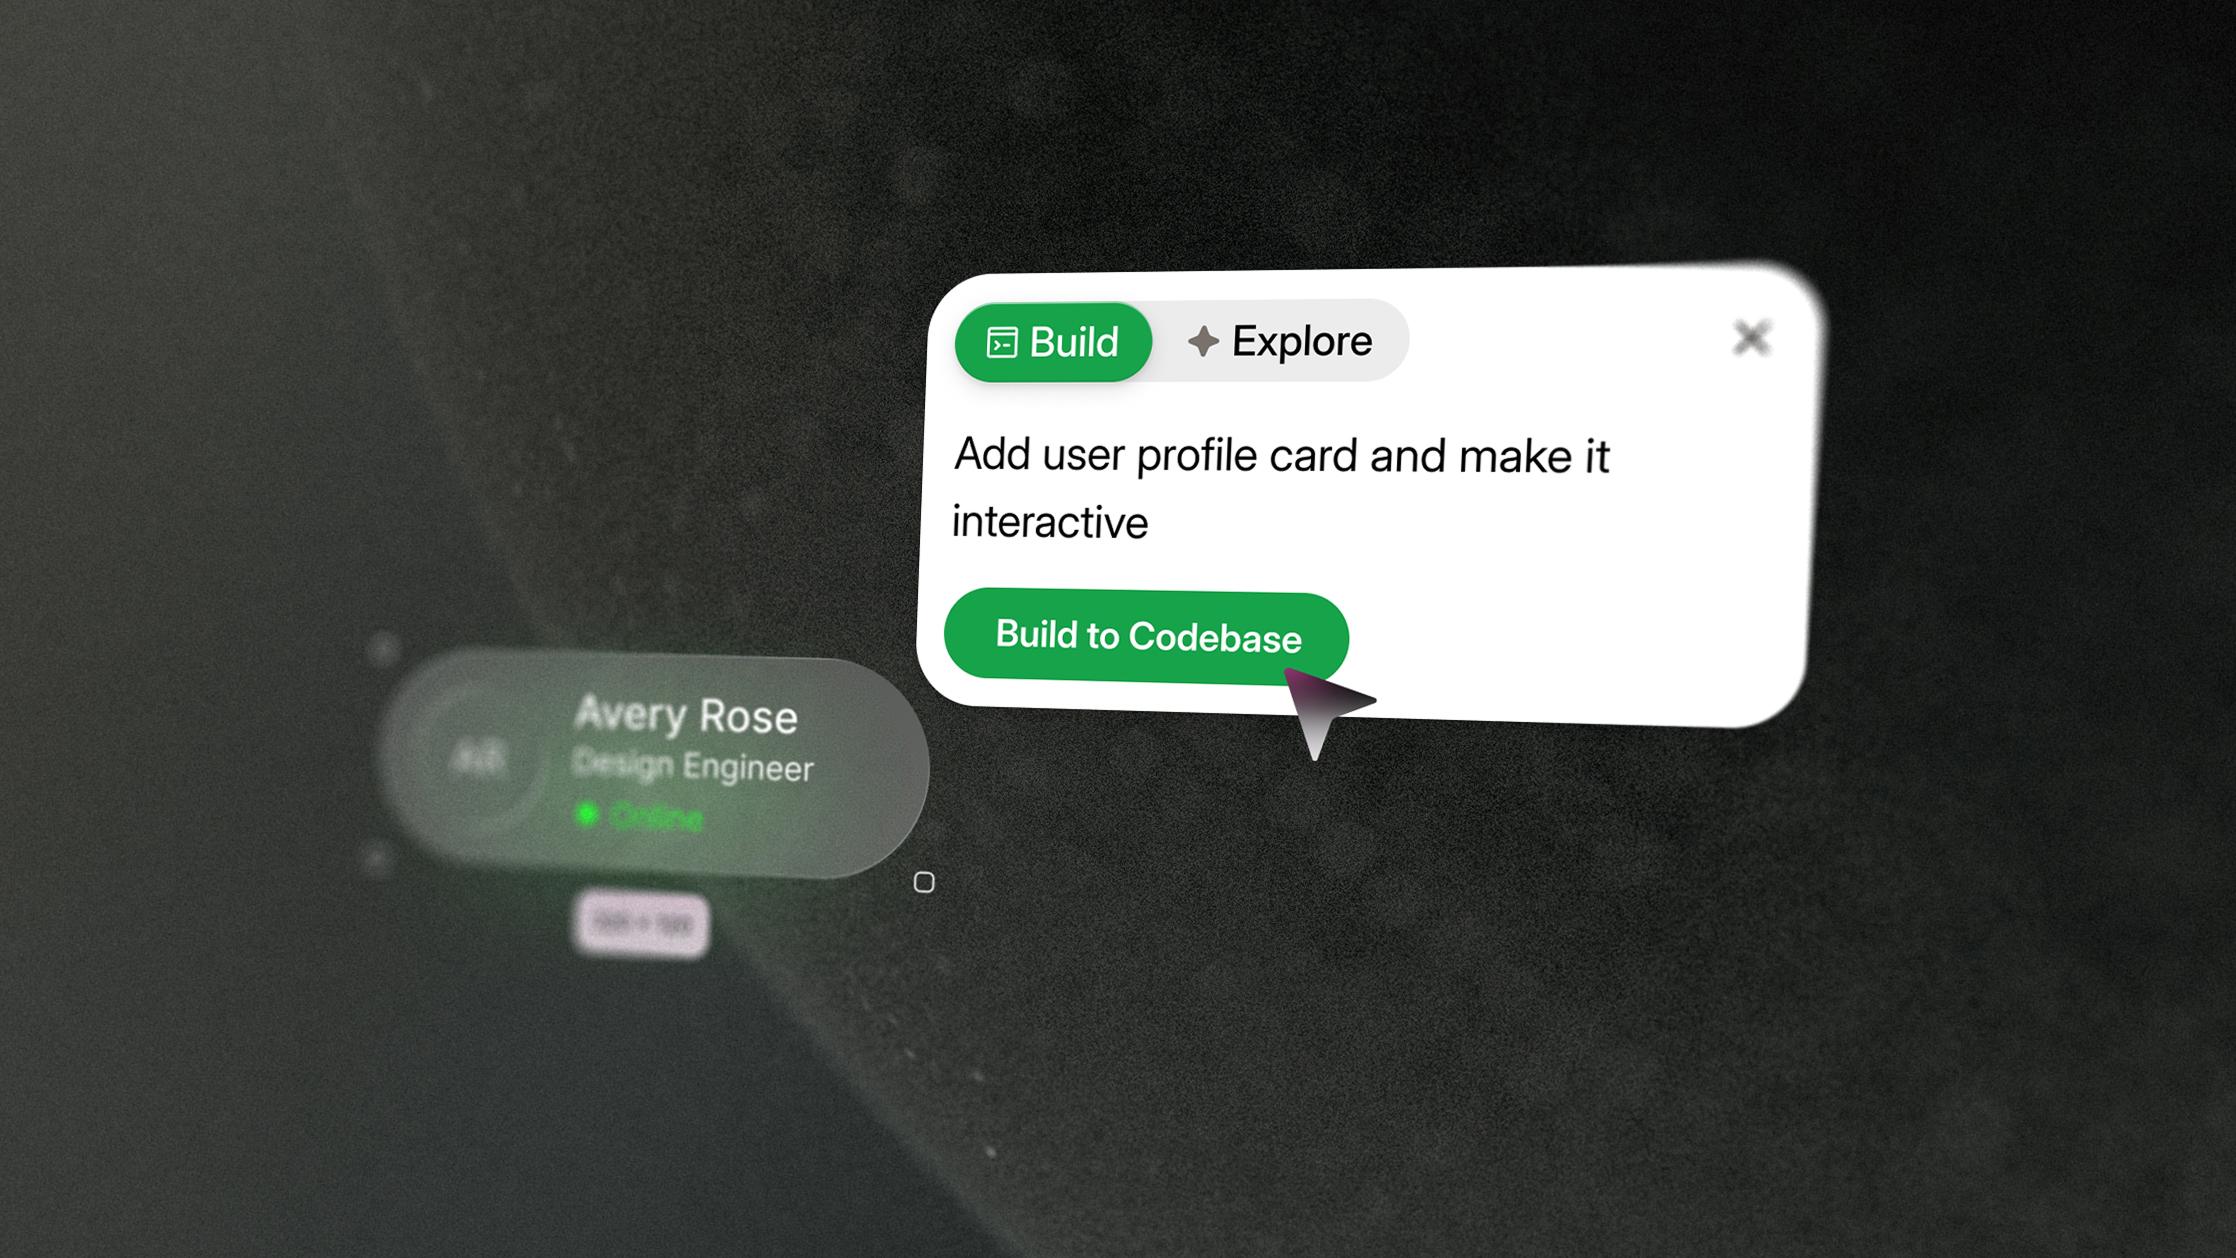
Turn any design into a live build with your design system, tokens, and components. Bring a Figma frame or a screenshot, or start from the canvas.
Code
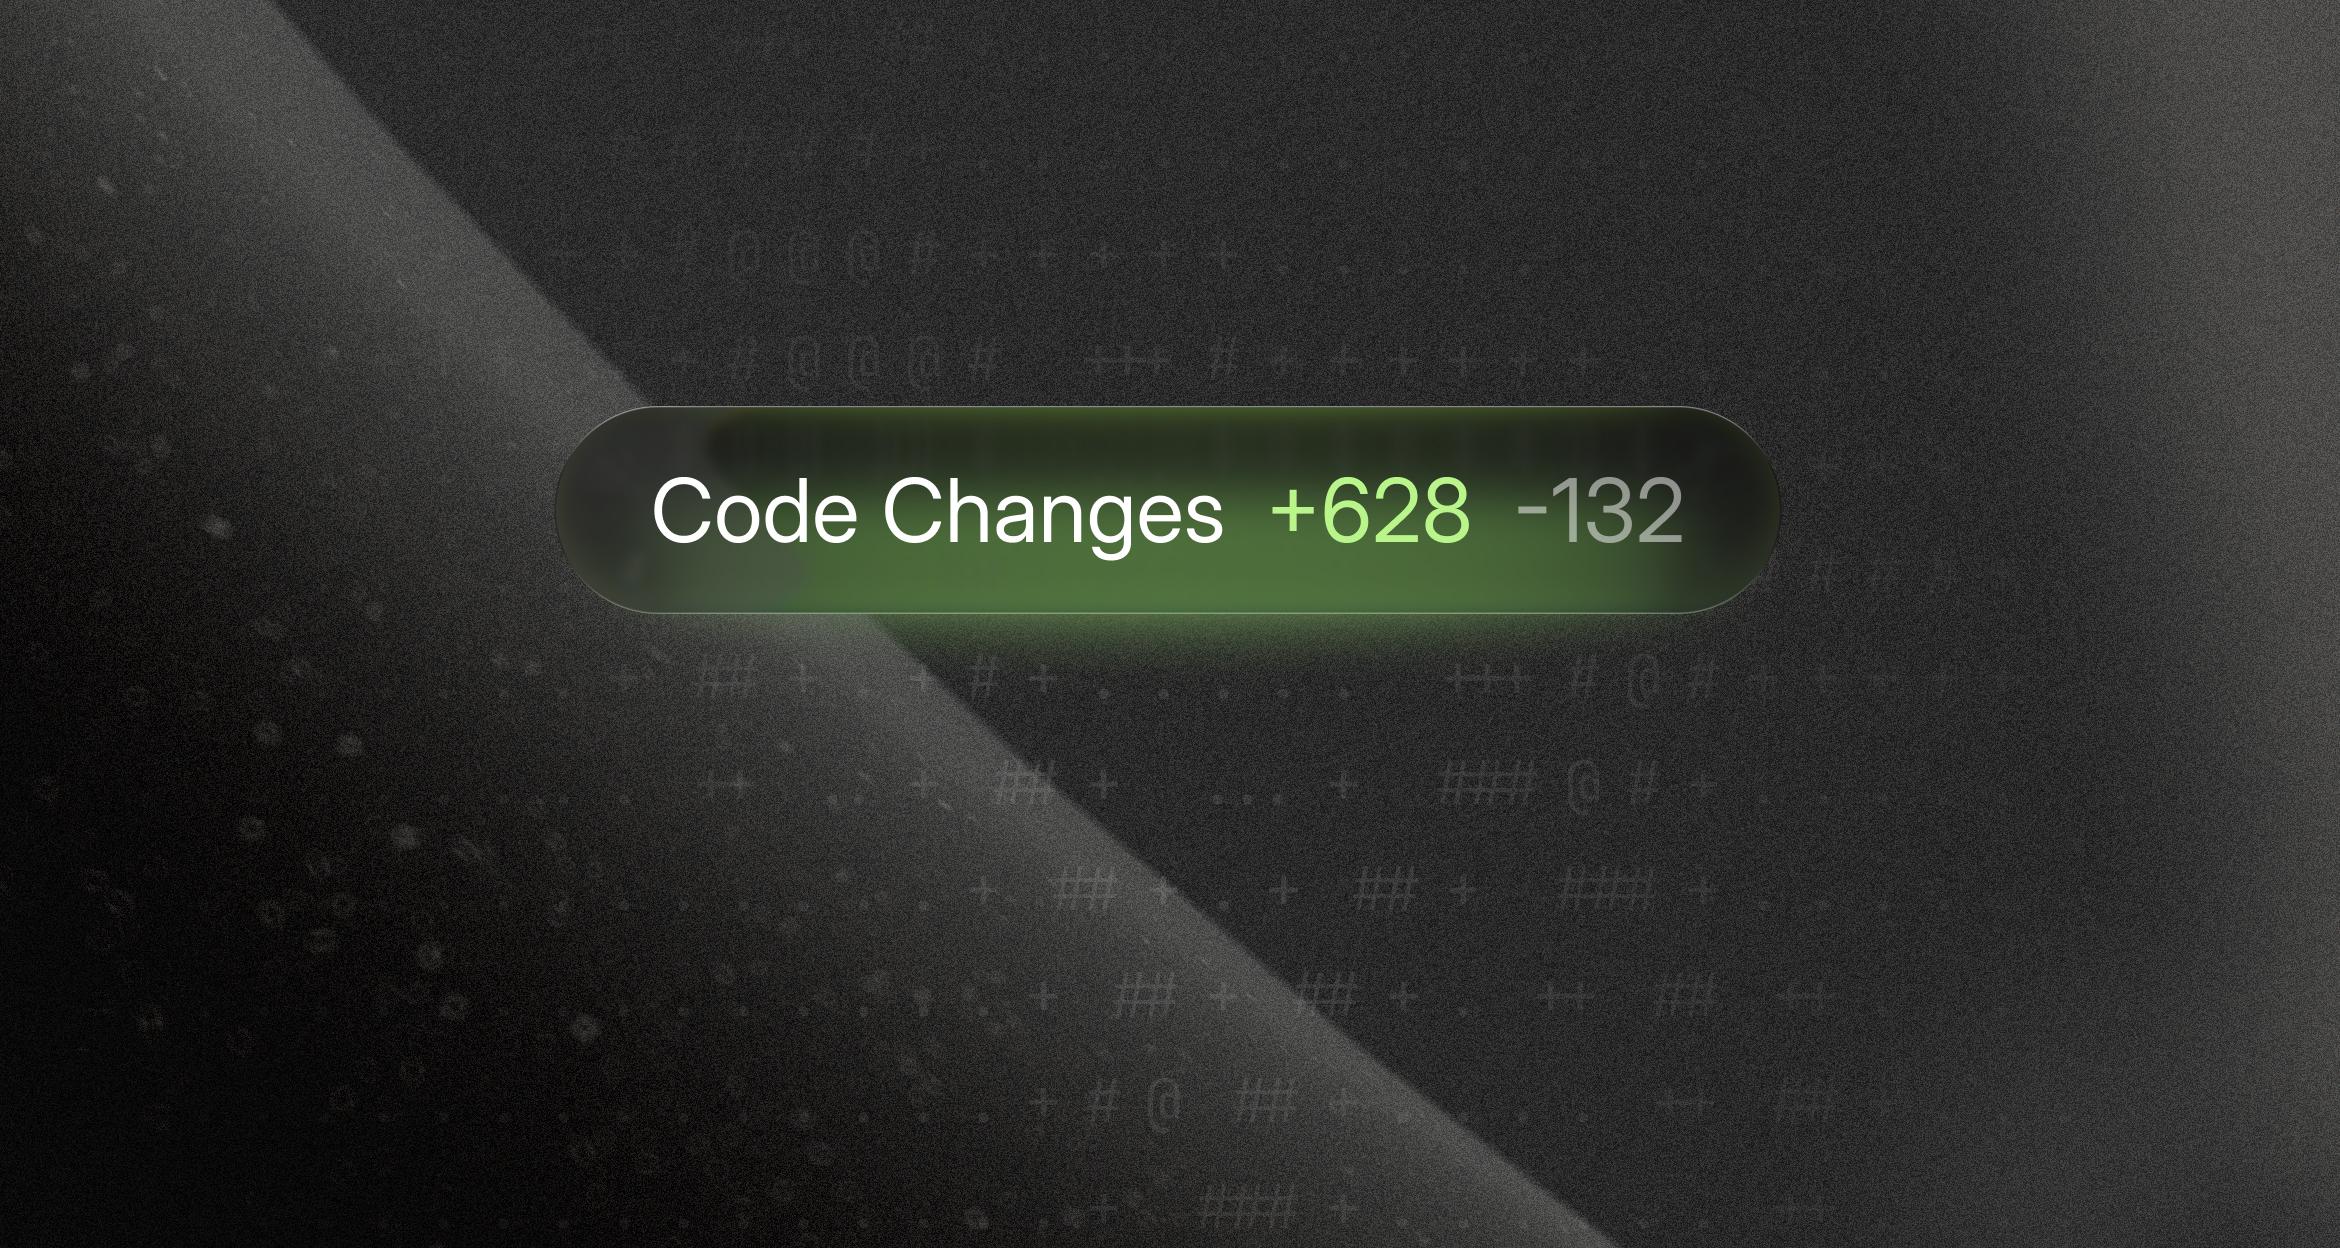
The code follows your conventions and reuses what already exists in the repo. Share the live result for feedback, then open a pull request engineers want to merge.
Design to code guide
Design to code: four routes from a design to a pull request
How design to code works from a Figma file, a screenshot, a prompt, or directly on a canvas, and which route fits a product that already exists.
The four routes from design to code
A Figma file read by a coding agent or plugin, a screenshot, a plain prompt, or designing in code on a canvas. The routes differ in how much of your codebase they can see, from nothing to the whole repository.
Read this section in the guide ↗Route 1: from a Figma file
Figma to code runs through the Figma MCP server and agents such as Claude Code and Cursor, or through converter plugins. Code Connect or a rules file is what maps Figma components to the ones in your repo.
Read this section in the guide ↗Route 2: screenshot to code
Screenshot to code gives an agent pixels and gets back matching markup. It is a starting point, because the model cannot know which components, tokens or states the picture shows.
Read this section in the guide ↗Route 3: from a prompt
Prompt-first tools such as v0, Lovable and Bolt build a fresh project fast. They fit a prototype and not a change to an existing product, because a pull request is a diff against files that already exist.
Read this section in the guide ↗Route 4: design in code on a canvas
Designing in code means changing the running product with design controls, so the code is the output of the design work. Onlook, Cursor Design Mode and Modeinspect are built around this route.
Read this section in the guide ↗Design to code for an existing codebase
The route has to see the existing components, the design tokens, the file conventions and the pull request review that gates every change. Anything that cannot gets rebuilt by an engineer.
Read this section in the guide ↗Design to code tools in 2026
Figma Dev Mode and MCP, Builder.io, Anima, Locofy, v0, Lovable, Cursor, Claude Code, Onlook and Modeinspect, compared by what each one does and where it stops.
Read this section in the guide ↗Which route to pick
Pick by the change, not the tool: a new product, a new screen in an existing product, or a fix to something that shipped each has a different best route.
Read this section in the guide ↗Questions
What is design to code?
Design to code is the work of turning a design, such as a Figma frame, a screenshot, a written description or a change made on a canvas, into code a team can review and merge. The four common routes are a Figma file read by a coding agent or plugin, a screenshot, a prompt, and designing directly in code on a canvas. They differ mainly in how much of the target codebase they can see.
Can Figma convert a design directly to code?
Not on its own. The Figma MCP server gives a coding agent such as Claude Code or Cursor design context from a selection, and Figma's docs say it is not designed to return production-ready code. The agent writes the code, and Code Connect or a rules file is what maps Figma components to the components in your repository.
Can you convert a screenshot to code?
Yes, Claude Code, Cursor, v0 and Anima all accept an image and produce markup that matches its layout and colors. The result is a starting point, because the model sees pixels and cannot know which of your components, tokens or states the picture shows. Point it at the target component and tokens in your repo before you ask for the code.
What does designing in code mean?
Designing in code means changing the running product on a canvas with design controls, so the code is the output of the design work rather than a translation of it. The designer does not write the code, and engineers still review the resulting pull request. Onlook, Cursor Design Mode and Modeinspect are tools built around this route.
Does design to code work with an existing codebase?
It works when the route can see the codebase: the existing components, the design tokens, the file and styling conventions, and the pull request review that gates every change. Prompt-first tools build a fresh project, Figma and screenshot routes need a mapping or rules file, and design in code tools work on the connected repository directly.
Also in the loop.
SHIP TODAY